Networking
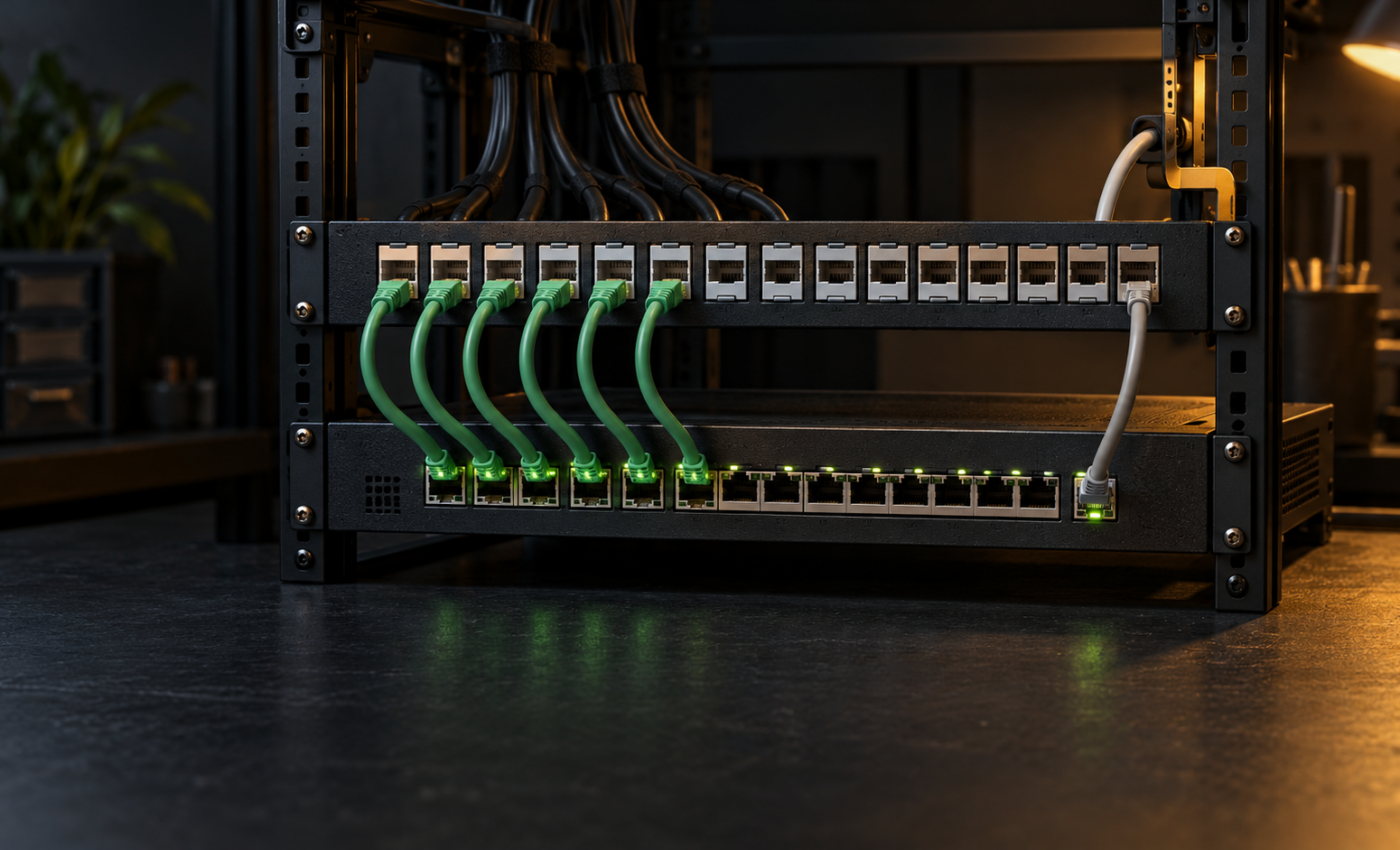
Patch Panel or Direct Switch Connections for a Home Lab?
Choose a patch panel or direct switch cabling by separating permanent runs from equipment cords and checking rack fit, labeling, ratings, and testing.
Independent homelab testing, reviews, and field notes.
Choose a patch panel or direct switch cabling by separating permanent runs from equipment cords and checking rack fit, labeling, ratings, and testing.
Trace a Proxmox VM start failure through its task log, lock, storage, cluster state, HA control path, and configuration before changing anything.
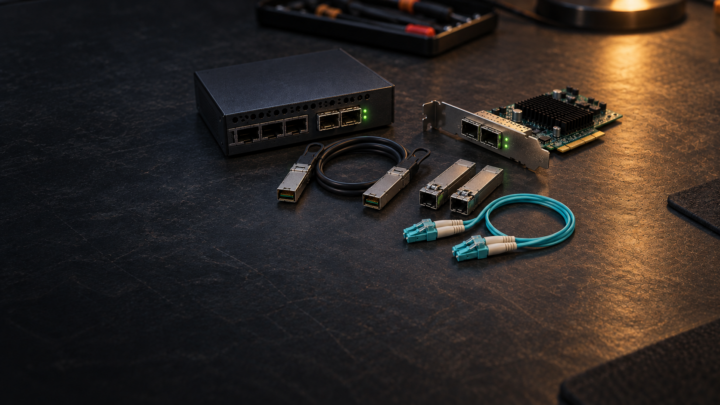
Choose a 10 GbE SFP+ DAC or multimode fiber link by port support, installed distance, cable route, serviceability, diagnostics, and spare strategy.
Plan a home lab maintenance window with clear scope, recovery access, rollback triggers, an ordered runbook, and layered service checks.
Move Proxmox VM disks between storage pools with capacity checks, an independent backup, source retention, and workload verification.
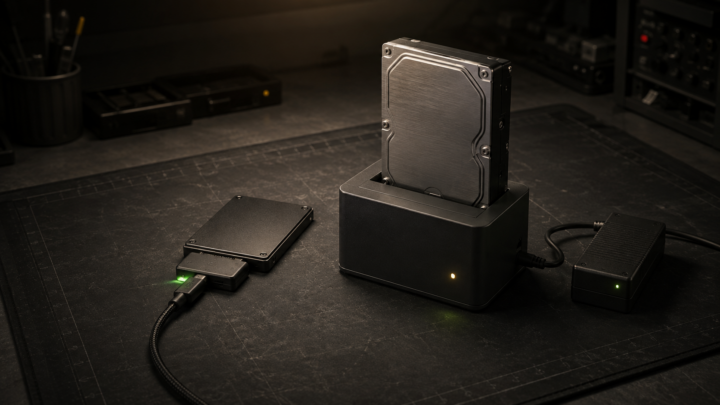
Choose a USB-to-SATA adapter, powered adapter, or drive dock by disk size, power, swap frequency, bridge features, and safe handling.
Move workloads, remove dependencies, sanitize every storage device, and verify the result before a home lab server leaves your control.
Compare a local KVM switch, built-in server management, and external KVM-over-IP by recovery reach, compatibility, and security.
Document home lab assets, network paths, access methods, backups, restore order, configuration baselines, and changes before a failure.
Calculate rack units, mounting depth, rail compatibility, load capacity, service clearance, and expansion room for a home lab.
Trace a home lab server boot failure from power and firmware through storage, the bootloader, Debian, Proxmox services, and safe recovery checks.